Pressure transmitter calibration procedure should confirm whether the transmitter output matches the applied pressure across its configured range. Calibration is not only pressing a zero button. It is a check of the whole measurement relationship between pressure input and signal output.
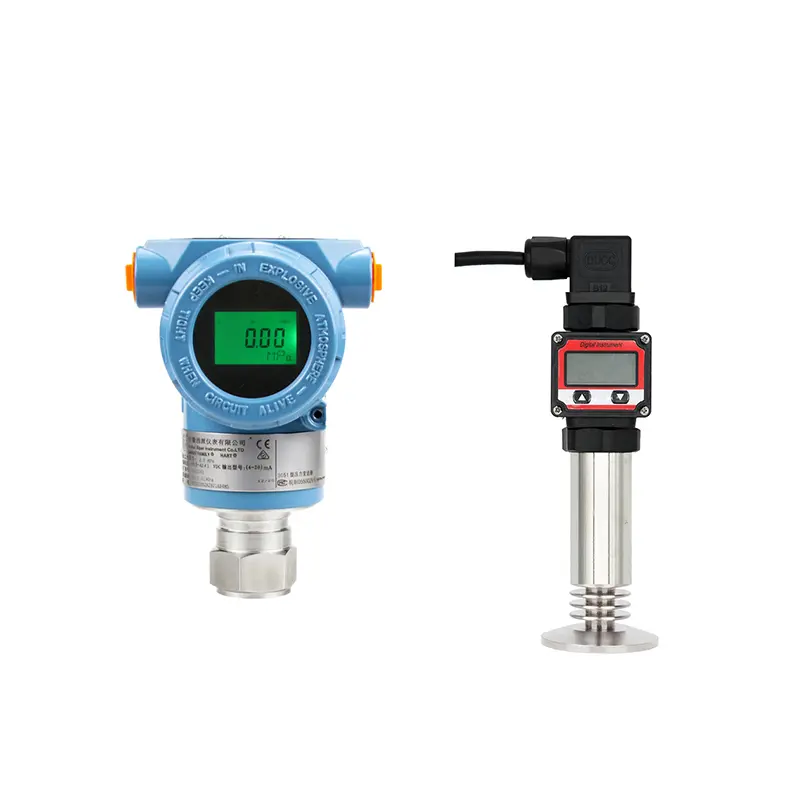
For industrial pressure transmitters, calibration usually compares a known reference pressure with the transmitter output, such as 4–20 mA, digital reading, or local display value. If the output does not match the expected value, adjustment may be needed.
Before Calibration
Before calibration, confirm the transmitter range, pressure type, output signal, power supply, and required accuracy. A transmitter calibrated for the wrong range will still give wrong readings even if the calibration process looks correct.
The basic information to check includes:
- Configured range
For example, 0–10 bar, -100–0 kPa, or another specified range. - Pressure type
Gauge, absolute, vacuum, compound, and differential pressure are not the same. - Output signal
The most common signal is 4–20 mA, but some transmitters use HART, RS485, Modbus, or voltage output. - Reference instrument
The pressure calibrator or reference gauge should be more accurate than the transmitter being tested. - Process isolation
Field calibration should be done safely, with correct valve operation and pressure release.
Basic Calibration Steps
A simple pressure transmitter calibration procedure usually checks the output at several points. The exact steps depend on the transmitter type and site rules, but the basic logic is similar.
Common steps include:
- Connect the transmitter to a stable power supply and output measuring device.
- Connect a pressure source and reference standard.
- Apply the lower range pressure and check the zero output.
- Apply mid-range pressure and check linear response.
- Apply upper range pressure and check span output.
- Reduce pressure back to zero and check repeatability.
- Adjust zero or span only if the error is outside the allowed tolerance.
For a 4–20 mA transmitter, the lower range value usually corresponds to 4 mA, and the upper range value corresponds to 20 mA.
Precautions During Calibration
Many calibration errors come from the setup, not from the transmitter itself. If fittings leak, the pressure source is unstable, or the wrong pressure unit is used, the result will not be reliable.
Important precautions include:
- Do not exceed the transmitter’s pressure limit.
- Use the correct pressure unit and range.
- Allow pressure to stabilize before recording output.
- Avoid vibration during calibration.
- Check wiring polarity and loop power.
- Confirm PLC or display scaling if loop calibration is performed.
For differential pressure transmitters, high and low pressure sides must be handled correctly. For diaphragm seal or capillary transmitters, installation position and fill fluid effects may also influence zero.
Calibration Is Not Always the First Solution
If a transmitter shows abnormal output on site, do not adjust calibration immediately. First check whether the problem comes from blocked process connection, unstable pressure, wrong wiring, poor grounding, water ingress, wrong PLC scaling, or damaged cable.
Calibration should correct measurement deviation. It should not be used to hide installation or process problems.
Conclusion
A pressure transmitter calibration procedure should check zero, span, output signal, reference pressure, and repeatability under safe and stable conditions. Correct calibration helps maintain reliable pressure measurement, but it must be based on the correct range, pressure type, and installation condition.
SIY Electric can help buyers select pressure transmitters, replacement units, and calibration-related configurations according to real working conditions.